Installing an air conditioning system can seem daunting, but breaking it down into manageable steps simplifies the process. Whether you’re a seasoned DIY enthusiast or someone new to home improvement projects, understanding each phase of installation is crucial for efficiency and safety.
Begin with selecting the right unit for your space. Consider factors such as room size, insulation quality, and climate conditions. An undersized unit will struggle to cool your space adequately, while an oversized one may cool too quickly without properly dehumidifying the air. Consulting with a professional or using online calculators can help you determine the appropriate BTU (British Thermal Unit) rating needed for efficient heating and cooling maintenance.
Air Conditioning Installation in Foley
Once you’ve chosen your unit, gather all necessary tools and materials before starting. Typically, you’ll need a drill, screws, brackets for mounting (if applicable), a level to ensure proper alignment, and sealant or weatherproofing tape to insulate any gaps around windows or walls where components pass through.
Next comes preparing the installation site. This involves ensuring that the area where you plan to install the indoor unit is free from obstructions and has adequate support if wall-mounted. For window units, make sure the window frame is sturdy enough to hold its weight securely.
Now it’s time to mount the indoor unit if you’re installing a split system or place your window unit in position. For split systems, use mounting brackets attached firmly to studs in your wall; this provides stability and minimizes vibrations during operation. Ensure that there’s enough clearance around all sides of both indoor and outdoor units as specified by manufacturer guidelines; this promotes optimal airflow and performance.
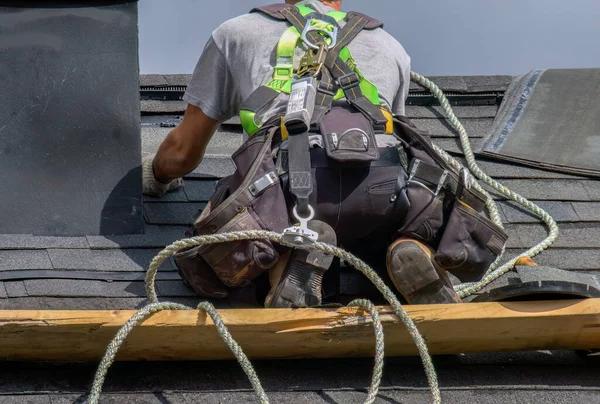
With everything in place indoors, proceed outside where you’ll install any external components like condensers for split systems or secure exterior parts of window units against elements exposure—using brackets if necessary on uneven surfaces such as brickwork might require additional drilling effort here too!
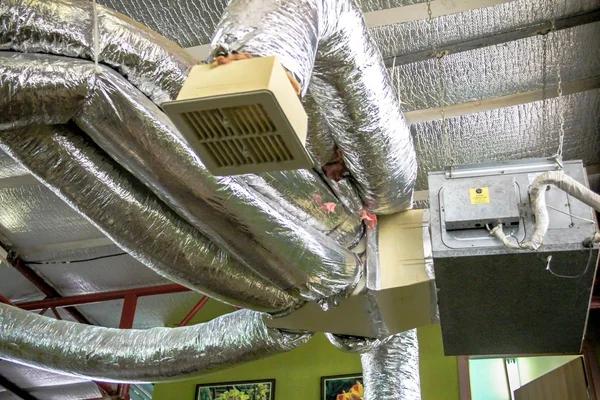
The next step involves connecting electrical wiring between different parts following detailed instructions provided within product manuals carefully: incorrect connections could lead not only potential damage but also pose significant safety risks so double-check every wire matches its corresponding terminal point before proceeding further ahead now!
Finally comes testing phase once everything connected correctly turn power supply back on test run through various modes/settings available ensure operates smoothly without unusual noises/vibrations indicating possible issues needing attention later down line after initial setup completed successfully congratulations are order having installed own air conditioner saving money hiring professionals while gaining valuable skills experience along way enjoy newfound comfort cooled environment brings especially during hot summer months ahead!
AirMax
1905 S McKenzie St, Foley, AL 36535
251-943-9200